
A fence doesn’t just “mark your territory.”
It protects your privacy. It creates a safe place for your children to play without stumbling into the street. It keeps your beloved dogs from escaping on potentially dangerous adventures while you’re away from home.
But a single broken fence panel can put an end to all that. A small opening is all your pet might need to crawl out of the yard, or it might give your daring toddler a perfect climbing step. Whatever your circumstances, leaving a damaged fence alone will only lead to trouble.
We’ve put together this guide to show you how to repair a wooden fence on your own, so make sure you keep reading below!
Replacing a Wooden Fence Panel
A cracked or rotten panel can suck the natural beauty out of your entire fence. It’s a real eyesore, but if you have the right tools and a bit of DIY skill, it isn’t hard to replace. Here’s a list of tools you’ll need to get the job done:
- Crowbar
- Hacksaw
- Hammer
- Drill
- Level
- Nails
Make sure you wear a quality pair of safety goggles and gloves as you work, especially if the panel is splintered. Getting a piece of wood in your hand isn’t fun, and it can lead to infection if you don’t treat it properly.
Fence panels come in standard sizes, so you should be able to buy a replacement panel for your wood fence at your local hardware store or online. Color matching will be the hardest part of this type of fence repair since the old wood may be faded by the sun. However, you should be able to find something that blends into the rest of the fence.
You might need someone to help you with this project. Holding the panel in place while carrying out the fence repair can be tricky, so grab a friend to give you a hand.
1. Pull the Panel Away From the Fence
Use the crowbar to pry the edge of the damaged panel away from the fence post. Apply pressure until there is a gap between the two pieces of wood wide enough to fit your hacksaw blade.
2. Saw Through the Nails
The hacksaw should cut through the nails holding the panel in place without a problem. Once this side is free, you may be able to yank the other side off the fence post. If you can’t, simply repeat the process again on the other edge.
3. Remove the Remaining Nails
Since you sawed through the nails, you might not be able to get them all the way back out of the fence post. That’s okay. If you can pull them out, use your hammer to bend them flat against the wood.
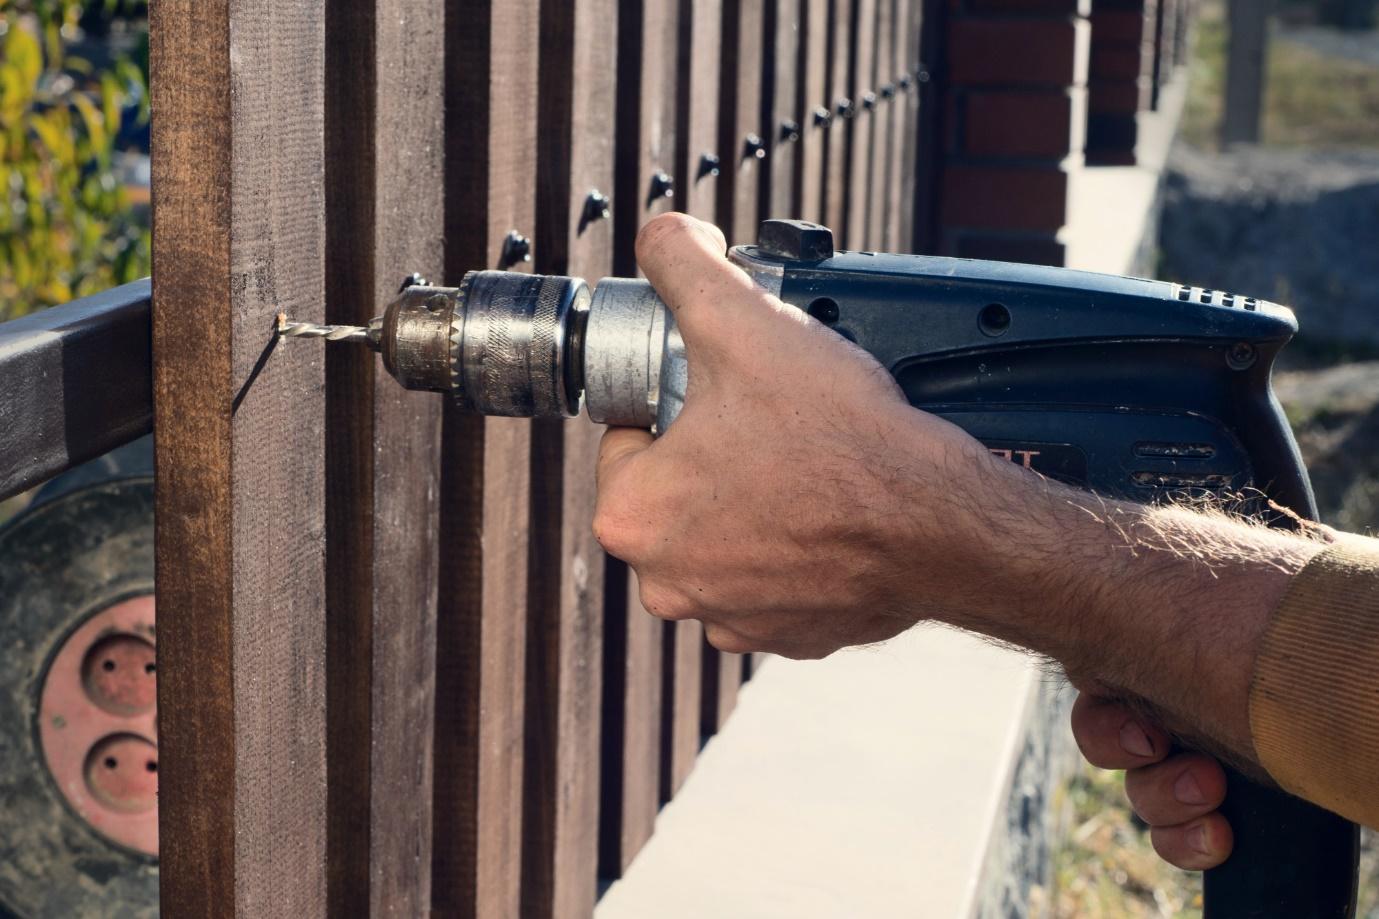
4. Pre-Drill Your Holes
Line up the replacement panel with the rest of the fencing and use your drill to pre-drill the nail holes. If you don’t have someone to help you hold the panel in place, you might want to mark the correct spots and drill the panel somewhere else.
5. Level the Panel
Hold the panel up again and test the position with a level. A single crooked panel in an otherwise straight fence will stand out, so take the time to adjust it if needed.
6. Nail It in Place
Grab your hammer and nails and secure the panel in place. The entire fencing installation process should only take a few minutes.
Replacing a Wooden Fence Post
If your fence repair requires a new post, the job is going to be a bit more complicated. Make sure you have the following tools on hand before you start:
- Crowbar
- Hacksaw
- Hammer
- Shovel
- Sledgehammer or an electric breaker
Be prepared for this project to take longer than replacing a singular fence panel. If you don’t have a few extra hours to spend outside on the weekend working on your broken fence, you may want to leave this to the professionals instead.
1. Disconnect the Panels
Start by pulling the edges of all the connecting panels away from the post (you can use the steps listed above). You’ll need to do this to both sides of the post, so get ready for a lot of hacksawing.
2. Unbury the Post
Grab your shovel and dig around the bottom of the post. You should uncover the cement keeping the post upright and stable.
At this point, it might be a good idea to saw through the bottom of the post so it’s smaller and easier to work around. However, you can skip this step if the height doesn’t bother you.
3. Break up and Remove the Concrete
If you can’t lift the concrete out of the post hole how it is, use a sledgehammer or electric concrete breaker to smash it into smaller pieces. Once you clean out the hole, use your shovel to make it wide and deep enough for your new post.
4. Install the New Post
Stand the new fence post in the hole and pour in fresh concrete to secure it. You’ll have to wait a few hours for the concrete to dry (follow the instructions on the packaging), but after this, you’re ready to attach the panels to the post again.
Fixing up Your Fence Without the Fuss
Repairing a damaged wooden fence isn’t a difficult job. As long as you have the right tools, you can do it yourself in a few hours. If you don’t have the time to spare, a professional fencing company can take care of it for you.
Do you want to learn some other handy home maintenance and improvement tricks?
You’re in the right place. Make sure you check out the rest of our blog today!